Tutorial: Hemming with Rayon Seam Binding

Hello everyone, it’s Laura Mae from Lilacs & Lace here to share a tip using my favorite sewing notion . . . rayon seam binding! Hemming a garment is generally one of, if not the last, steps in the construction process - this means it is often rushed. But a bit of extra time and effort can make a huge difference to the quality of a garment. It really is all about the little details!
There are many, many different ways to hem a garment. This particular option works quite well with thicker fabrics since it covers the raw edge without adding any bulk, although I also like to use it on lightweight fabrics like cotton lawn.
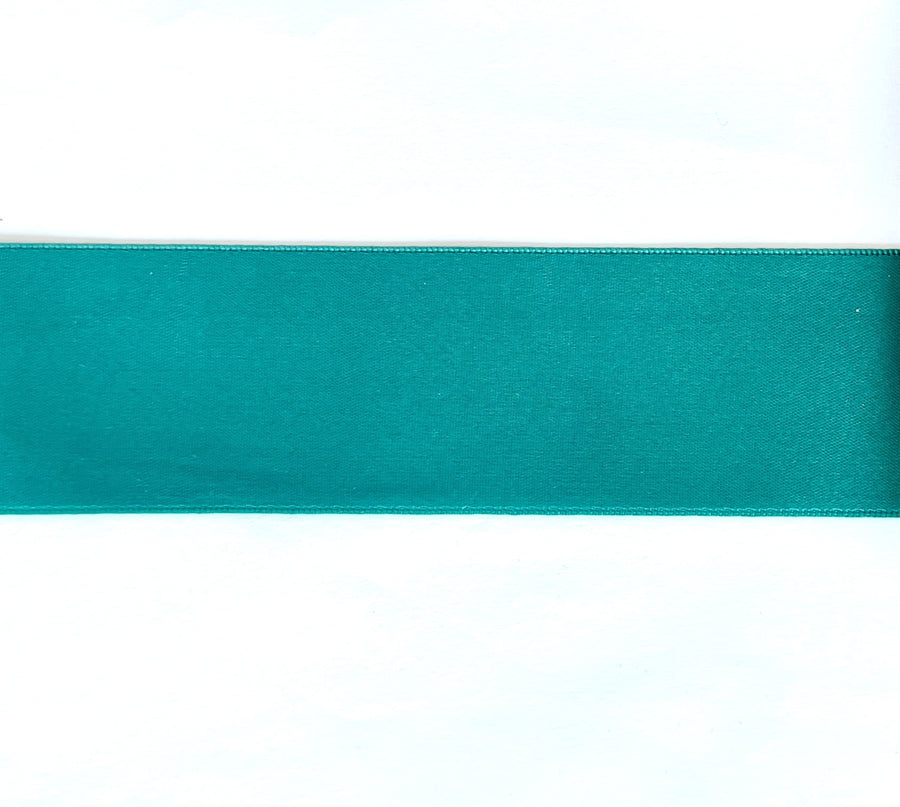
This technique involves a length of rayon seam binding (to cover the raw edge) and some catch-stitches (to contain and secure the binding to the garment).

The first step is to mark the fold line.For most fabrics, I like to use a fabric pen to lightly mark the fold line on the wrong side of my fabric. Tailor’s chalk is another excellent option. Next, a running stitch is worked along that marked line. (I suggest using silk thread since it will be easy to remove later on.)
This basting stitch allows the fold line to be visible on both the right and wrong sides of the fabric. It will also not disappear under a spray of steam at an inopportune moment! A length of rayon seam binding is then stitched to the right side of the hemline along the raw edge. The stitching line should securely attach the seam binding to the fabric, making sure that the raw edge is covered.

To finish the end of the seam binding, simply trim and fold under the raw edge, overlapping the initial cut edge. Give the hemline a quick press to remove any puckering along the stitch line.

That will look something like this. Press the hem up along the basted fold line. Pin the hem into place. For my initial versions of this hem variation, I would stitch through the upper edge of the binding. While both edges of the ribbon are woven and will not fray, the application always seemed a bit unstable.

One day while I was catch-stitching seam allowances to an underlining, it hit me. I could catch-stitch the seam binding on a hem application just as easily! Moving left to right, catch-stitch the hemline in place, taking a bite out of the stitched edge of the seam binding followed by a tiny bite out of the fabric to secure the hem. This hand stitch is best worked flat – that means no hemming while sitting on the couch or watching a movie, no matter how tempting it may be! And the final step is to remove the line of basting stitches and give your garment a good press.

And the final step is to remove the line of basting stitches and give your garment a good press. Yes, this hemming technique takes a bit of extra effort, but the end result looks so pretty! And beautifully finished garments really are a joy to wear!


Leave a comment