Tips on Sewing Shorts - Windowpane Pleated Duo by Jamie

I've kicked off the new year with a pretty busy schedule here at the Jamie Lau Designs studio. I just wrapped a photo shoot of my new textile designs and also added my latest Britex project to the shot list. With this post, I wanted to branch out from dresses and into the world of separates. I designed a pair of pleated shorts in one of my prints a few months ago and wanted to make the same cut, but in a different fabric. For this project, I selected the cream Windowpane Check Black and Carmine Wool Crepe for my checked ensemble. This wool crepe does not wrinkle and has a nice pebbly texture and soft weight. For the overall look, I found the smaller scale of checks appealing and was partially inspired by the geometric designs of André Courrèges and the playful, mod aesthetic of Foale and Tuffin.

(Left) Dress by André Courrèges, 1968; (Right) Marion Foale at the sewing machine, 1963
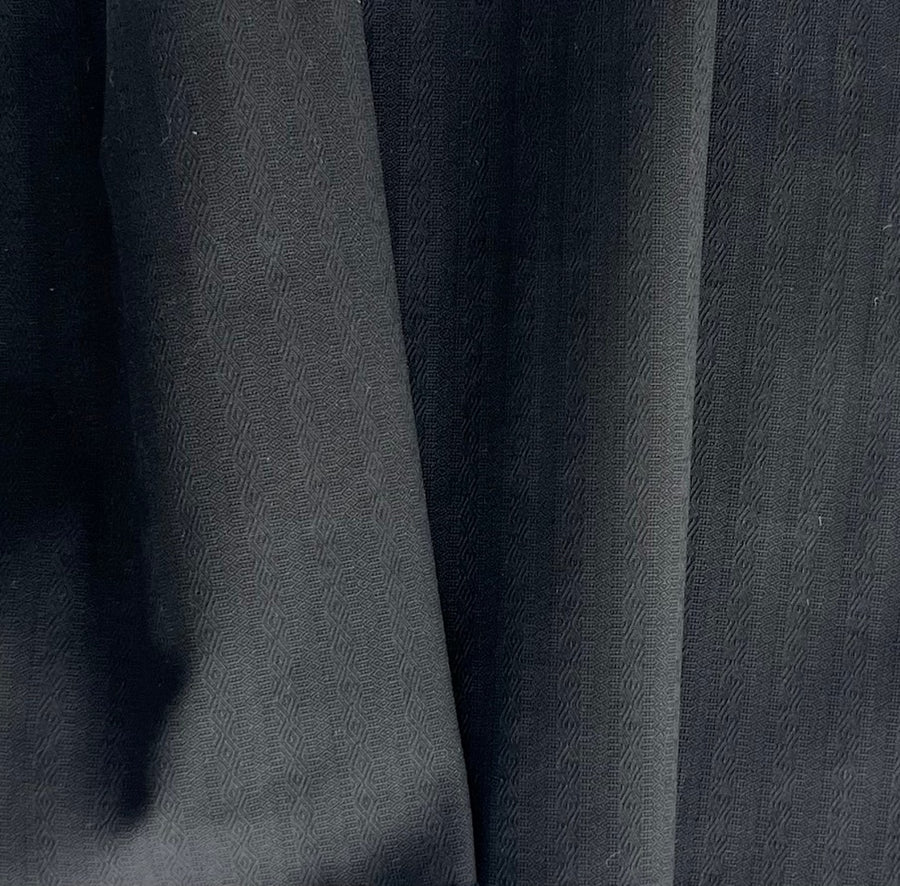
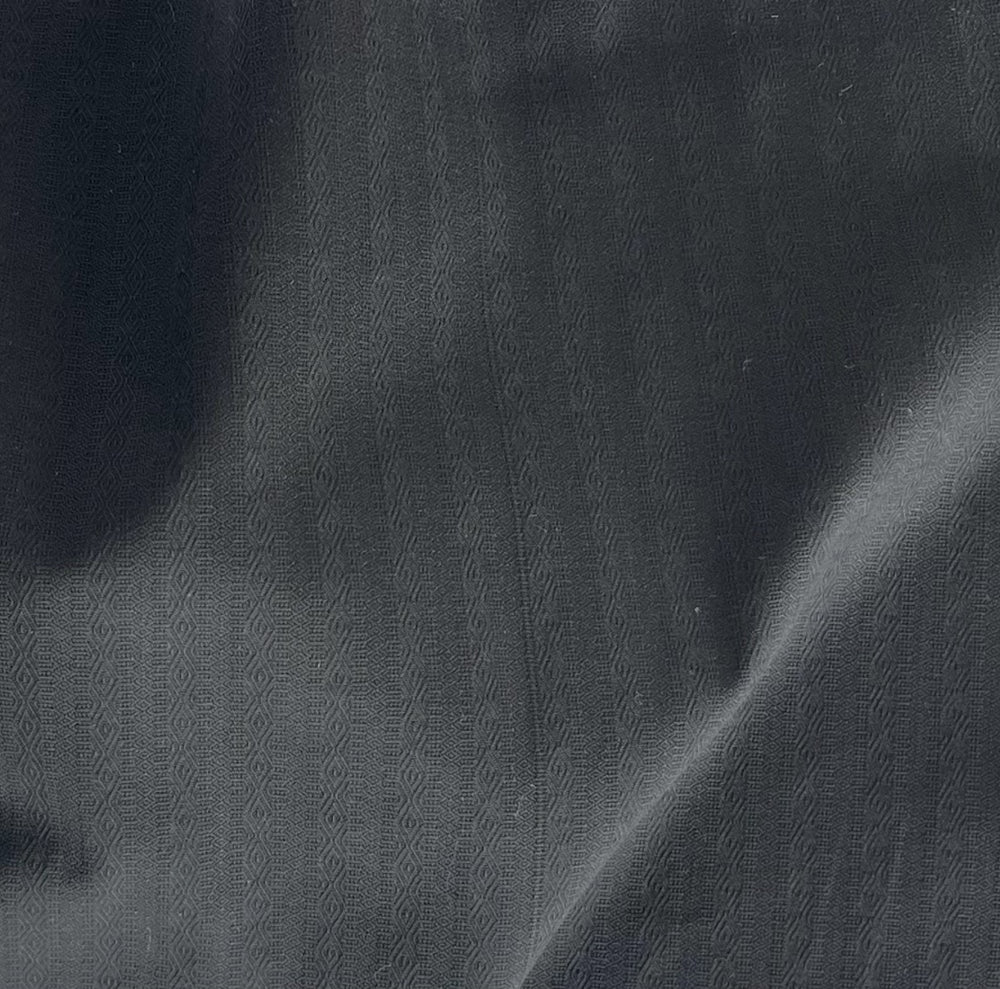
For the top, I designed and sewed an easy-to-wear pleated neckline top with relaxed short kimono sleeves, similar to my Pleated Tunic Dress. It’s easy to slip on without the hassle of a zipper and fully lined in a coordinating Bemberg rayon “Ambiance” lining fabric, which I hand-washed in shampoo beforehand. I let the fabric air-dry and within a couple of hours, it was dry and ready to sew.
Photo credits: Liz Clayman

Now, onto the tutorial part of this post: tips on sewing shorts. A few weeks ago while teaching a private sewing lesson, one of my students wanted to make a pair of leggings. My advice to her was that it was all about order of operations (yes, like math!) as putting the pieces together may not be the most intuitive process at first. Here are my tips on how to sew shorts, using my wool pleated shorts as an example. These are steps you can apply to sewing pants with a side seam zipper as well.
Prepare Your Front and Back Short Pieces to Be Sewn Together
1. First, sew the back darts on each back short piece, pressing the dart bulk toward center back with a pressing ham. (Note: Throughout the garment construction process I used a serger, or overlock sewing machine, to finish my raw edges.)
2. Before sewing the front pleats, first attach the hip yoke pockets and hip yoke pieces, pressing as you go. You should now have two fully formed front short pieces.
3. Next, pin and machine baste the front pleats along the waistline to hold in place with the hip yoke pieces.

Sew Each Leg
4. Starting with the right leg (as worn), pin the front and back short pieces together at the side seam, right sides together, and sew from waist to hem. (Note: When matching the checks on this fabric, you can use notches as a guide or hand baste in place before sewing the final seams.) Press the seam allowances open.
For the left leg (as worn), repeat this process but with one exception - sew the side seam starting at 8 ½” down from the waist to the hem. This opening will be for the invisible zipper. (Note: If you are planning to finish the shorts with a waistline facing and no waistband, you can do so at 7 ½”. In my example, the extra ½” accounts for seam allowance at the waist and the additional 1” is for my 1” waistband). Serge the waistlines and remove the basting stitches.


5. Next, starting with one leg, pin the front and back shorts pieces together at the inseam, right sides together. Sew the leg closed from the crotch to the hem. Press the seam allowances open and repeat this process for the other leg.
Sew the Crotch Together
6. Now for the part that may seem most confusing - connecting the leg pieces and sewing the crotch together. First, insert one pant leg into the other, right sides together. Pin the center front, center back, and crotch seams together, making sure the waistline and checks are aligned.


7. Next, sew the crotch seam starting from the center front waistline and sew as one continuous seam up to the center back waistline. Finish the raw edges together with a serger and press the seam allowance toward the zipper opening side of the shorts. Do not press the seam allowances flat along the curve, only the upper edges to the beginnings of the curve.
Finishing Touches
8. At this point, you can go in several directions before inserting your invisible zipper, including lining your shorts, adding a straight waistband, or sewing in a waistline facing. In my example, I lined my shorts in a coordinating Bemberg rayon “Ambiance” lining fabric and added a straight waistband, which I applied fusible interfacing to as well. Then, sew the hem at your desired hem allowance.
I found this fabric very easy to work with. Visit my blog to view more photos of this ensemble from my recent photo shoot with photographer Liz Clayman. Check out my Instagram for more behind the scenes glimpses of other looks from this shoot, including new Jamie Lau Designs prints!





Leave a comment